Introduction
Starting seeds in cold weather can be difficult, especially for beginners. If you want to start seeds in cold weather successfully, understanding soil temperature is essential.
A simple plastic cover method can help create a warmer environment and improve germination rates—even when it still feels cold outside.
Why This Method Works
This method works because the plastic cover creates a mini greenhouse effect. It traps heat and moisture during the day while still allowing natural temperature drops at night.
These freeze–thaw cycles help break seed dormancy and trigger germination naturally, just like seeds would experience outdoors in early spring.
Unlike indoor seed starting, this approach requires no grow lights or heating mats, making it a simple, low-cost solution for beginners.
Why Seeds Struggle in Cold Weather
When you try to start seeds in cold weather, low soil temperature becomes the biggest challenge.
- Germination slows down
- Seeds may rot
- Growth becomes uneven
Even if the air feels warm during the day, the soil is often still too cold.
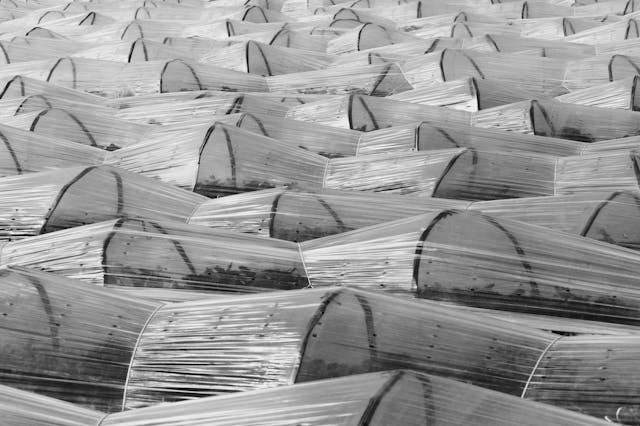
How the Plastic Cover Method Helps
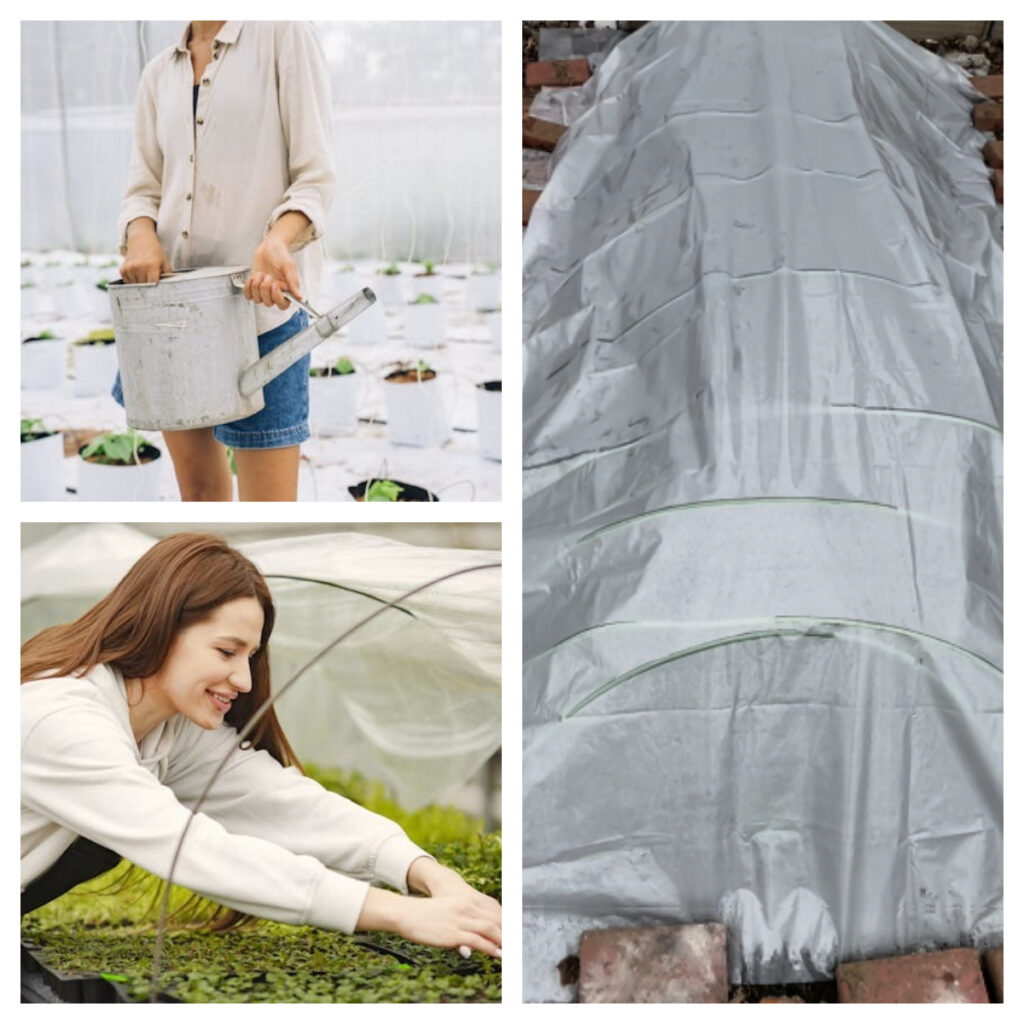
Using a plastic cover traps heat and moisture, creating a mini greenhouse effect.
This is one of the best ways to start seeds in cold weather because it:
- Warms up the soil
- Maintains moisture
- Protects from cold wind
- Speeds up germination
Important: Don’t Forget Ventilation
When using plastic covers or low tunnels in early spring, ventilation is essential and often overlooked by beginners.
Plastic traps heat very efficiently, which helps warm the soil and protect plants from cold. However, on sunny days, temperatures inside the tunnel can rise very quickly—even when the outside air is still cold.
If there is no airflow, the inside can become excessively hot and humid, which may damage or even kill young seedlings.
To prevent overheating:
- Open both ends of the tunnel during the day
- Lift one side of the plastic to allow airflow
- Use perforated plastic or add small ventilation holes
- Monitor temperature regularly, especially on sunny days
A good rule is:
👉 If it feels warm to you, it’s probably too hot for your plants.
Proper ventilation helps maintain a stable environment and prevents heat stress, mold, and poor plant growth.
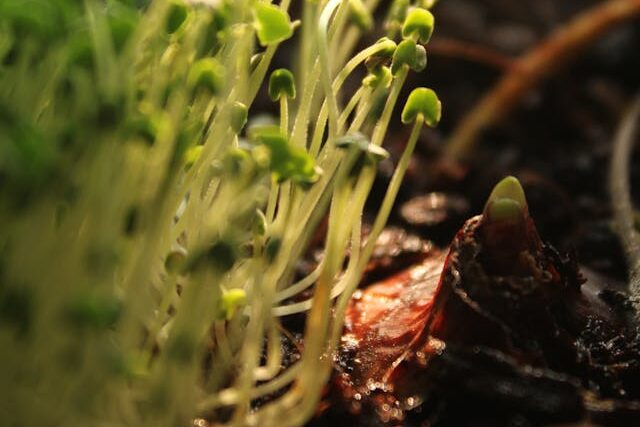
Why You See Condensation (Important Sign)
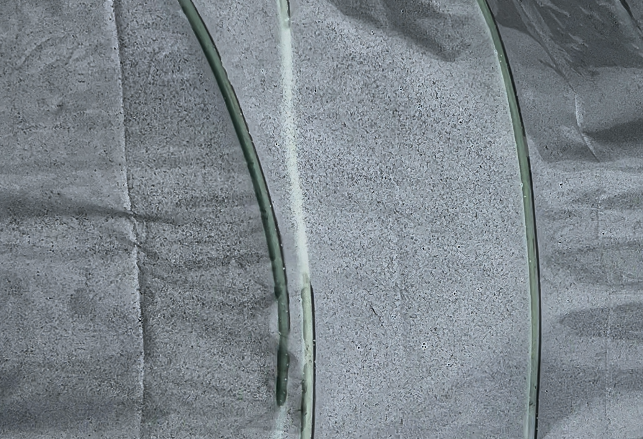
One clear sign that this method is working is condensation forming inside the plastic cover.
When you see water droplets on the inside surface, it means the temperature inside is higher than outside. This difference creates a stable and protected microclimate.
The trapped warmth and moisture help seeds germinate faster, even when the outside weather is still cold.
This is one of the most important indicators when you start seeds in cold weather successfully.
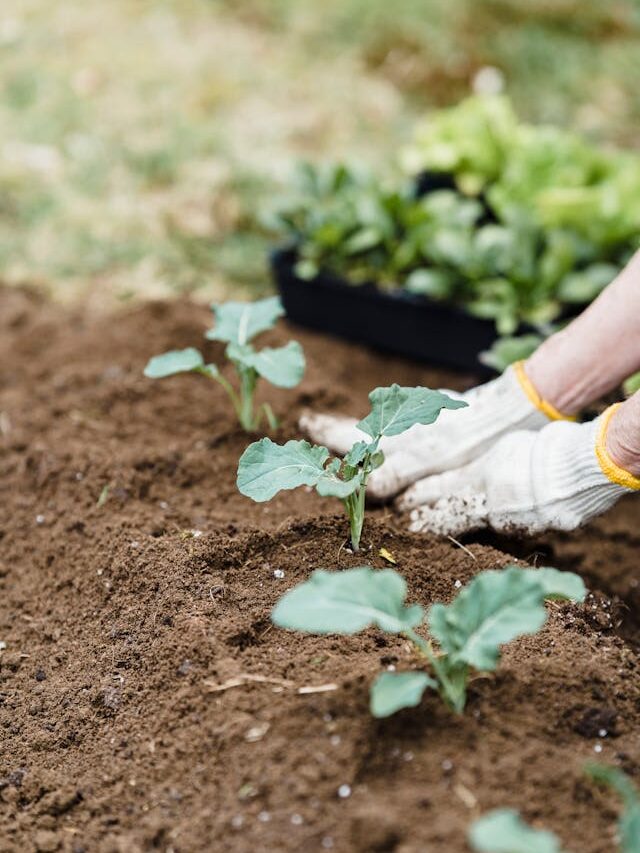
Step-by-Step Guide
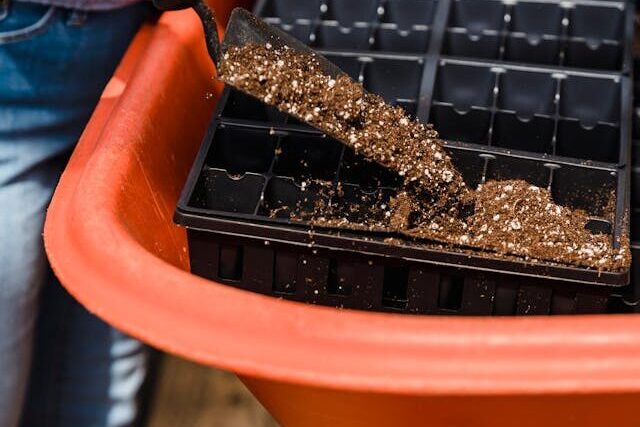
Step 1: Prepare the Soil
Loosen soil and remove debris to improve root growth.
Step 2: Sow Seeds Evenly
Scatter seeds across the surface without overcrowding.
Step 3: Water Lightly
Keep soil moist but not soaked.
Step 4: Cover with Plastic
Secure plastic using bricks or soil.
🌱 Struggling with Weak or Slow Seedlings?
If your seeds take too long to sprout or grow thin and weak,
it’s usually not your fault — it’s your setup.
A simple beginner setup can make a huge difference in how fast and strong your plants grow.
Most gardeners use:
- A basic grow light
- Seed starting trays
- Lightweight seed starting soil
👉 See the beginner setup here:
👉 Beginner Seed Starting Setup (Budget-Friendly Guide)
This makes a big difference, especially in early spring or cooler weather.
What to Expect
After you start seeds in cold weather, you may notice:
- Condensation forming under the plastic
- Soil staying moist longer
- Warmer air trapped inside
Within days or weeks, small seedlings should begin to appear depending on temperature.
Common Mistakes
Overwatering
Too much water can cause seeds to rot.
Not Removing the Cover
Remove plastic once seedlings appear.
Poor Ventilation
Allow airflow on warm days.
Common Mistakes That Actually Cause Failure
Beyond basic care mistakes, some less obvious issues can significantly reduce your success rate:
Starting at the wrong time
If started too late, seeds may miss the natural cold cycle needed for proper germination.
No drainage holes in the container
Even if watering is controlled, trapped water at the bottom can still cause root rot.
Containers sealed too tightly
A fully closed container can overheat quickly under sunlight, damaging young seedlings.
Incorrect placement (no sun or too much shade)
Without enough sunlight, seedlings may grow weak or fail to develop.
Best Seeds for This Method
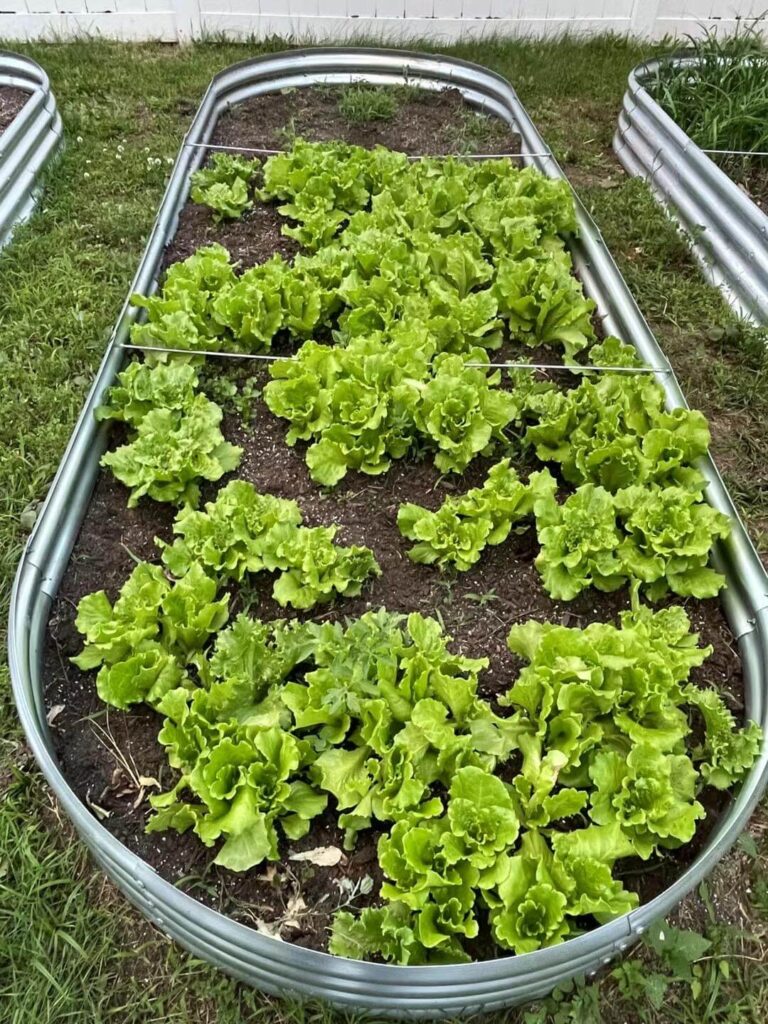
Not all seeds perform equally well in cold weather conditions. The best results usually come from:
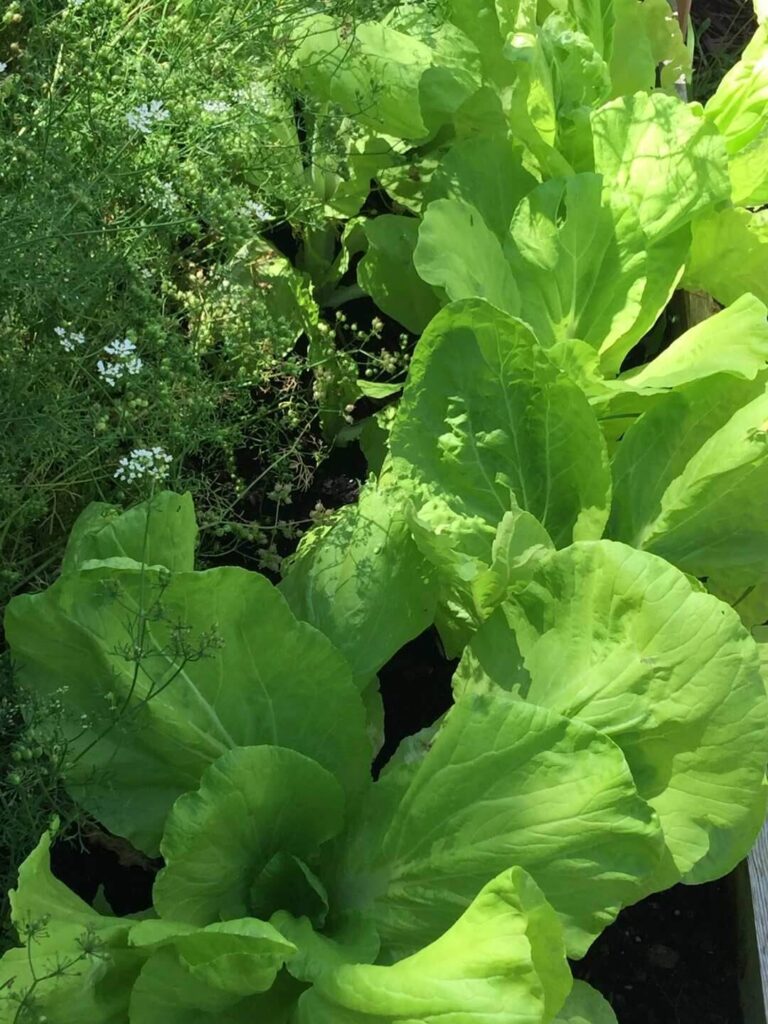
- Cold-hardy vegetables
Lettuce, spinach, kale, arugula - Herbs
Parsley, cilantro, chives - Perennials and native plants
Many of these naturally require cold stratification - Early spring crops
Broccoli, cabbage, peas
These seeds are naturally adapted to cooler temperatures and are more likely to succeed with this outdoor method.
When to Remove the Plastic
Remove or open when:
- Seedlings appear
- Temperature increases
- Condensation becomes excessive
Internal Link
👉 You may also like: 22 Vegetables to Plant in April
What Vegetables Grow Best in Early Spring Under Plastic Covers (Cold Climate Guide)
Conclusion
If you want to start seeds in cold weather, using a plastic cover is one of the easiest and most effective methods. The condensation forming inside is a clear sign that the environment is working, helping seeds germinate earlier and more successfully.